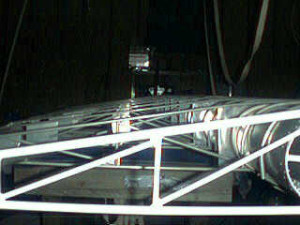
From the ribs hanging on the wall to the finished wing required a bit of time but seeing it in its final shape was worth the effort.
I stayed as close to the plans as I could figuring that the people at Kolb knew more about planes than I. To assemble the wings I removed the top off my work bench and put a couple of beams across the top of the framework, this was my version of the saw horse method, I thought it would be more stable.
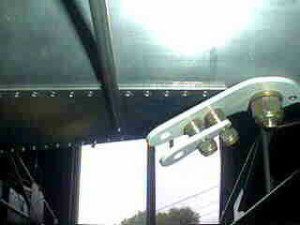
During construction there were several reminders to make sure that the steps outlined were followed exactly, The 1/2 inch bolt holding the lift strut to the wing and the underlying rivets had to be installed correctly.
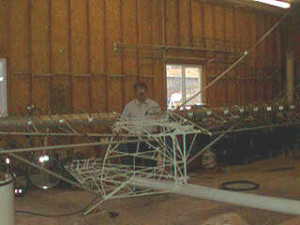
After building the wings I had to find a place to store them until it was time to mount them to the cage. The wall was as good a place as I could find seeing that the ceiling hangers were being used for other proposes.
Once the fuselage cage was cleaned up and primed it was time to mount the wings. I suppose that I was so busy working on the task that I must have forgot to take pictures of the framework holding the wings during the rigging process, but as soon as they come down the camera came out. The instructions said that the perpendicular alignment of the wing should be “close to equal; one inch differences may be acceptable”. When we got to that point I asked my son who was helping if that was good enough or if he wanted to take the time to get it better? He asked if we were going to fly it and if so lets make it the best we can. The last measurement was within 1/8 or as close as we could measure.
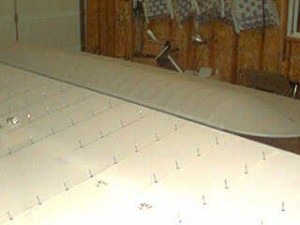
After all the rigging the wings came off to get a coat of fabric. When opening the “poly products: tack, brush, spray, and paint” It did not take long to figure out that you really don’t need fabric on the wings in order to make it fly, just leave a can of that stuff open in the space between the seats and you can fly high, engine not required. Note all the rivets ready to be pulled.


